Need any help or advice?+44 (0)1782 454499
VIDEOS IN THIS SERIES
This video is part 2 of a 3 part series:PRODUCTS USED IN THIS PROJECT
Although not necessarily an exhaustive list, the following tools and materials, supplied by Easy Composites, were used in this project.
The quantity shown below is the approximate amount used in the project rounded up to the nearest available kit size or quantity.
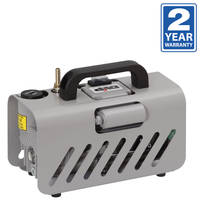
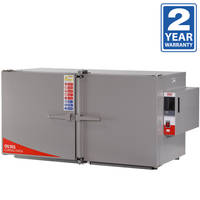
TOOLS & EQUIPMENT
VACUUM BAGGING CONSUMABLES
MOULD MAKING MATERIALS
VIDEO TUTORIAL
How to Make Prepreg Carbon Fibre Moulds Using Tooling Prepreg
In this video tutorial we demonstrate how to use our XT135 Carbon Fibre Tooling Prepreg to create highly accurate and temperature stable composite prepreg moulds ideal for then using in the production of prepreg carbon fibre parts.
The pattern we use to create the mould from was a CNC machined block of our EB700 epoxy tooling board which had been sealed with S120 tooling board sealer and then prepared with several applications of Easy-Lease chemical release agent. For full details on how we machined and prepared the pattern, see the preceding tutorial video in the series; Precision Patterns and Moulds from 3D CAD by CNC Machining Epoxy Tooling Board.
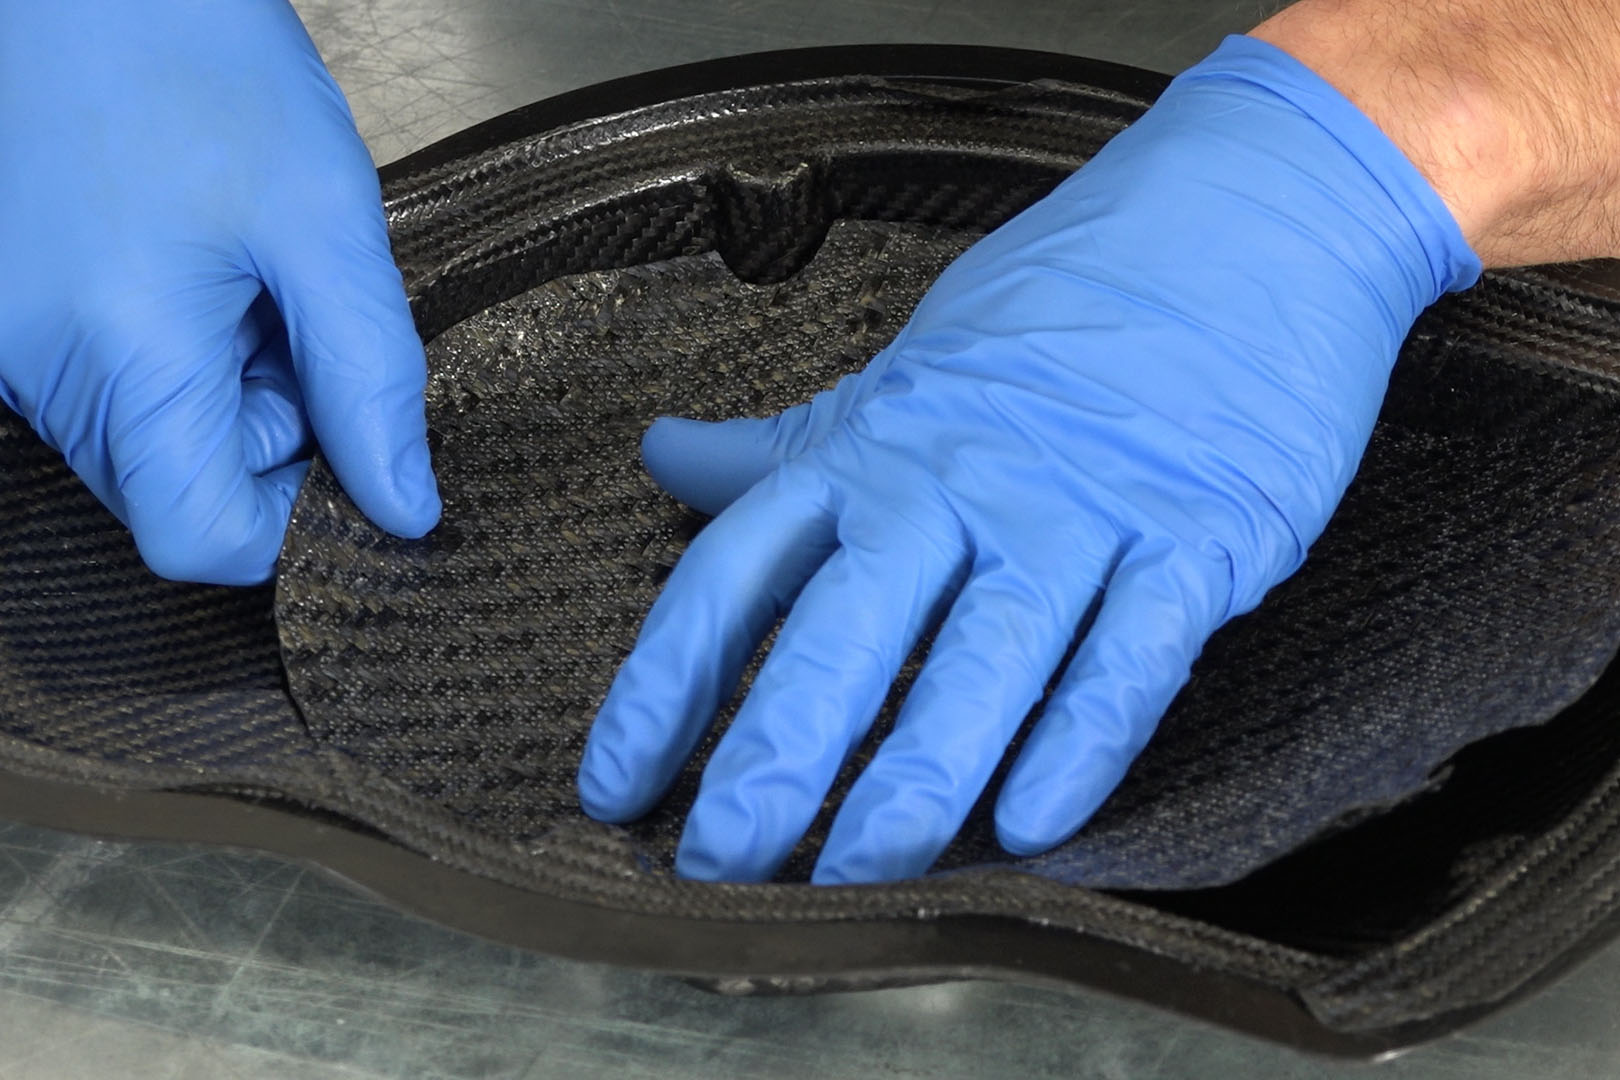
Being a small mould, we decided to laminate it using only 3 plies in total; one layer of XT135 Tooling Prepreg Surface Ply and two layers of XT135 Tooling Prepreg Backing Ply. For larger moulds or where more rigidity is required, a total of 4 backing plies is recommended.
INTRODUCTION
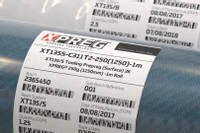
Introduction
XT135 is a specialist tooling prepreg system designed to produce dimensionally accurate carbon fibre composite moulds using vacuum bag and oven cure only (out-of-autoclave). To achieve the highest possible quality of mould-tool, XPREG® XT135 needs to be processed correctly. The key areas of importance being the pattern surface compatibility, the layup and bagging procedure and the cure and post-cure cycles.
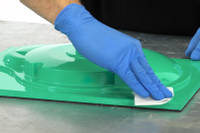
Prepare pattern
Fully Compatible Pattern Materials
XPREG XT135 tooling prepregs are suitable for use with chemically compatible pattern/tooling materials with a suitable service temperature; these include:
- Epoxy tooling board such as the Easy Composites EP700
- Epoxy resin surfaces such as gel-coat or prepreg components
- Aluminium/steel
- Glass platens
NOT Compatible Materials
XPREG® XT135 is NOT suitable for use with the following tooling materials due to either service temperature or chemical compatibility constraints:
- Polyester pattern surfaces, such as those used for traditional ‘fibreglass/GRP’ moulds
- Polyurethane model/tooling board (due to cure inhibition of epoxies by polyurethane at elevated temperature)
All patterns should be post-cured (if required) before use to ensure that their full service temperature is realised. If in doubt of the compatibility of any mould material, we would strongly advise conducting a test prior to component manufacture.
Release Agent
We recommend the use of chemical release agent, particularly Easy-Lease™ Chemical Release Agent which has proven to be perfectly reliable when used with XPREG® XT135 compatible mould surfaces. The release agent should be designed for use at elevated temperatures and compatible with both epoxy prepregs and the pattern surface.
Traditional mould release waxes or PVA will not provide a release for prepregs and should NOT be used. If in doubt, conduct a trial to test for suitability. Porous pattern surfaces such as epoxy model board should be sealed using S120 Advanced Board & Mould Sealer or similar prior to release agent application.
New mould surfaces should have at least 6 applications of Easy-Lease™ prior to layup, please refer to application guidelines for further information. 1 further application is recommended between every component release, especially for complex components.
TUTORIAL BREAKDOWN
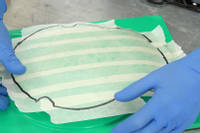
1. Making the templates
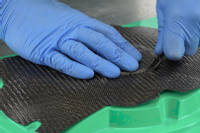
2. Laminating
Laminating should be conducted in a clean and dry working environment at 17-20°C this temperature range provides the optimum tack level and workability for the material.
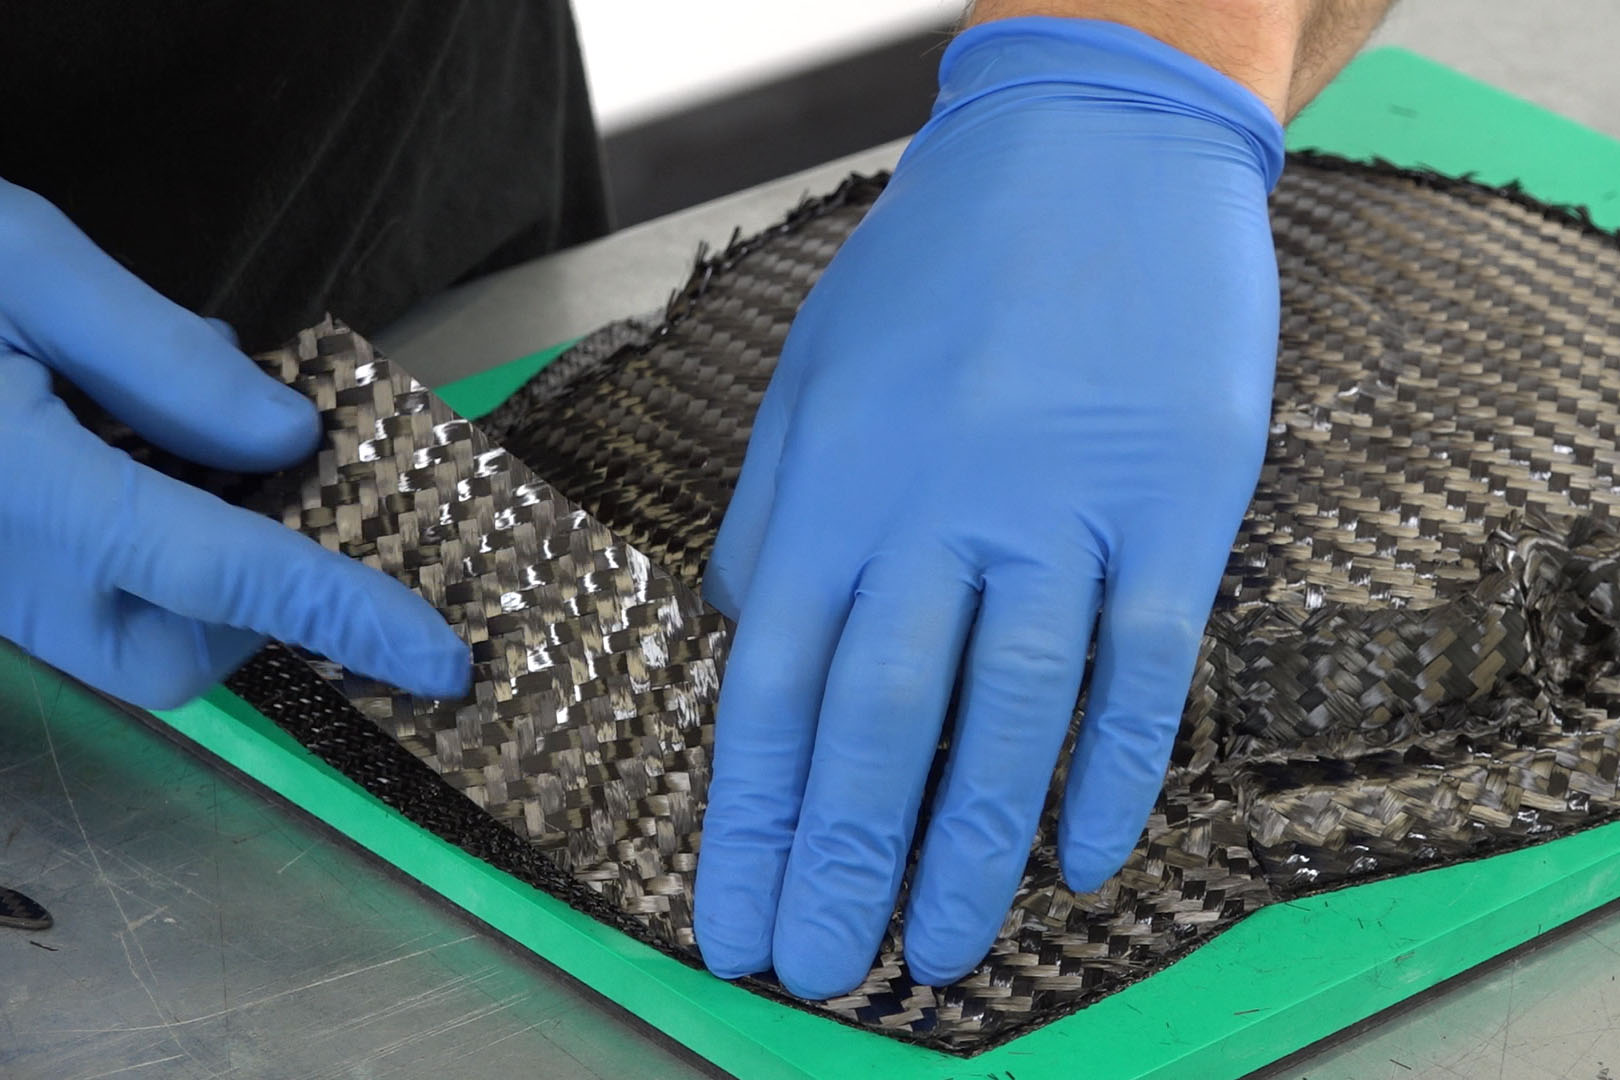
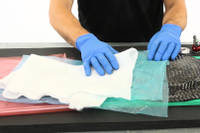
XPREG® XT135 comprises of a surface ply (XT135/S) and backing plies (XT135/B) the surface ply can be identified by the combination of red and blue protective film and has a fine glass fibre scrim on one side. The backing material has a blue film and white paper combination and has one very resin-rich side (black/tacky) and one fairly dry carbon fibre side.
The surface ply should be laid glass scrim (blue film) side down against the face of the pattern, subsequent backing plies can then be laid resin-rich side down up to four layers, in smaller tools 2 backing plies is usually sufficient to produce adequately stiff moulds.
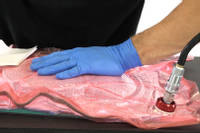
3. Debulking
Debulking will help to improve consolidation and therefore reduce the likelihood of voids therefore we recommend a standard debulk procedure on the surface ply and after the second backing ply when more than 2 backing plies are be laminated ; Apply P3 perforated release film followed by a breather cloth, vacuum bag and hold at full vacuum for 20mins, remove vacuum bagging stack and proceed with subsequent plies of XPREG® XT135.
4. Vacuum bag
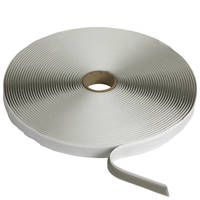
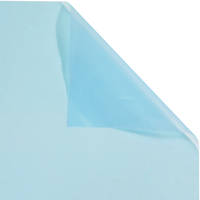
Release Film
A P3 perforated release film with suitable service temperature should be applied onto the entire open surface of the prepreg, care should be taken to ensure an intimate contact without bridging is achieved. If required, the loose film around the perimeter of the part can be occasionally secured in place using flash/release tape.
Breather
Breather should then be draped over the perforated release film over the entire area of the laminate and underneath the through-bag connector in such a way as to ensure an air path from the connector to the laminate surface.
If multiple moulds are being cured in the same bag then breather should be used between each laminate to ensure a continuous air path between them.
Vacuum Draw-down
The vacuum bag can then be applied and vacuum should be drawn gradually, taking time to position and reposition the bag as air is removed.
It is essential to the quality of the end result that during the pull-down the bag should be adjusted and positioned such that it does not bridge or stretch anywhere on the component’s surface. This is a critical step to ensure proper consolidation of the laminate. Air may need to be re-introduced to allow repositioning if bridged or stretched areas are identified.
Hand tools (sometimes referred to as ‘dobbers’) should be used to to push the vacuum bag firmly into the inside of tight corners or details. After correct layup, consolidation and bagging, it should be impossible to feel any ‘bridging’ or movement when pressing a suitably shaped hand tool into corners or details of the moulding. Towards the end of the bagging process, if there is any doubt over whether the vacuum bag is sufficiently large to to avoid bridging then the bag should be abandoned and a new larger bag made.

5. Initial cure cycle
This initial cure cycle is recommended in all tooling applications this low temperature cure on the pattern ensures optimal dimensional accuracy and exceptionally low void content. This should be conducted for a minimum of 16hrs, increasing the soak time from 16hrs to upto 48hrs can reduce the effects of surface print-through.
6. High temperature post cure
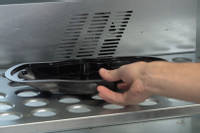
The post cure cycle is required to achieve the full service temperature of the mould. A slow and controlled ramp is essential to ensure best surface finish and dimensional stability. The post cure should be conducted free-standing (off the pattern) for large mould structures it may be advantageous to support the mould during post-cure to minimise the risk of warping.
DISCUSSION (22)
Please share any questions or comments you may have about this video tutorial.
LEAVE A COMMENT OR QUESTION
PRODUCTS USED IN THIS PROJECT
Although not necessarily an exhaustive list, the following tools and materials, supplied by Easy Composites, were used in this project.
The quantity shown below is the approximate amount used in the project rounded up to the nearest available kit size or quantity.
TOOLS & EQUIPMENT


VACUUM BAGGING CONSUMABLES


MOULD MAKING MATERIALS


DISCUSSION (22)
Please share any questions or comments you may have about this video tutorial.
LEAVE A COMMENT OR QUESTION
100% SECURE
PAYMENT METHODS


Easy Composites Ltd, registered in England 7486797. All content copyright (C) Easy Composites Ltd, 2025. All rights reserved.
