Need any help or advice?![]() +44 (0)1782 454499
+44 (0)1782 454499
VIDEOS IN THIS SERIES
This video is part 1 of a 2 part series: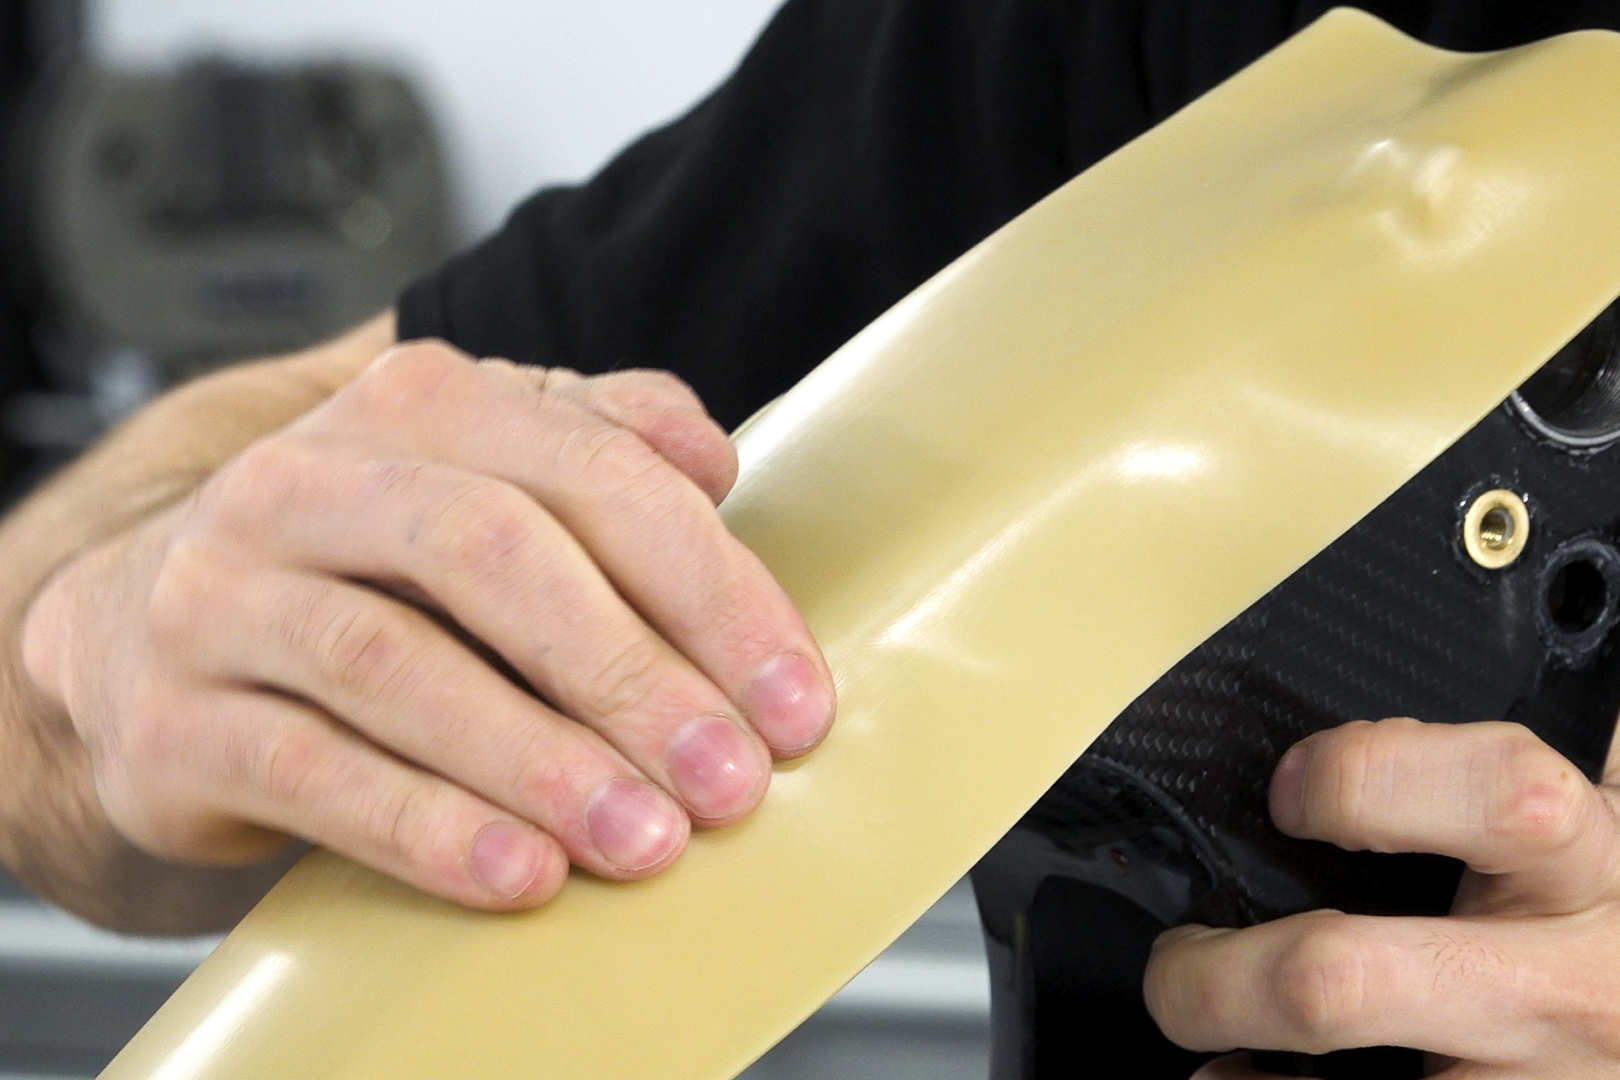
PRODUCTS USED IN THIS PROJECT
Although not necessarily an exhaustive list, the following tools and materials, supplied by Easy Composites, were used in this project.
The quantity shown below is the approximate amount used in the project rounded up to the nearest available kit size or quantity.
MATERIALS & CONSUMABLES


VIDEO TUTORIAL
How to Use Sheet Wax to Create Moulds for Cover Components
WHAT YOU WILL LEARN
- How to use calibrated sheet wax to create an offset mould
- How to use our Epoxy Mould Making Starter Kit to make a simple fibreglass mould
- How to use EG60 Epoxy Tooling Gelcoat and EMP60 Epoxy Laminating Paste
In this video tutorial we explain why offset moulds are needed when making cover components and how to use sheet wax to create an offset mould. We then use our Epoxy Mould Making Starter Kit to make an offset fibreglass mould which in a follow-up tutorial we use to produce a carbon fibre frame protector/cover component.
INTRODUCTION
Composite materials such as carbon fibre, Kevlar and fibreglass can be a good choice for making close, accurate fitting cover components such as frame protectors, clutch covers, mirror covers, bash-guards and more.
To make a properly fitting cover components such as these, the first step is to create a mould that is slightly larger than the original component to allow for the thickness of the cover itself, known as offsetting. This offset will allow the inside of the cover to be a correct fit for the outside of the original component.
In composites, one practical way to create this slightly larger (offset) mould is to use calibrated sheet wax. Calibrated sheet wax is a type of flat wax sheet, often with adhesive on one side, that is available in accurately calibrated and consistent thicknesses. The sheet is gently manipulated and applied directly onto the surface of the original component.
A traditional composite mould making process can then be followed, taking an offset mould off the outside of the sheet wax which can then be used to produce accurate, snug fitting cover components using of a variety of composite reinforcements. Sheet wax can also be used to produce an offset mould suitable for use in RTM/RTM light.
The key to creating a snug-fitting cover component is to use sheet wax with a thickness that closely matches the thickness of the cover component. For example, if you want to make a 5mm thick Kevlar sump guard, you should use 5mm thick sheet wax. In our example, we are making a 2mm thick carbon fibre frame protector and so a 2mm sheet wax is used.
TUTORIAL BREAKDOWN
1. Applying the sheet wax
The original component is measured, and the sheet wax is cut to the correct size. In this tutorial we will be using the sheet wax to create the 2mm offset and also to form barriers off the sides of the part, that will in turn form the flanges around the edge of the mould. The sheet wax is cut oversize to allow for this.
The sheet wax available from Easy Composites has a self-adhesive backing meaning it can easily and securely be applied to the original component/pattern. When applying the sheet wax to the part, a heat-gun can be used to soften the wax slightly, making it easier to conform to the contours of the original part.
Where the sheet wax is being used to form the mould flange, filleting wax is used to add some temporary support to the sheet wax. Simple tools like dibber/laminating tools can be used to add definition, as required, to the sheet wax.
2. How to join sheet wax
For larger or more complicated shapes is if often necessary to join multiple pieces of sheet wax together. To do this, the different pieces of sheet wax should be cut so that they join together as closely as possible. You will find that gently and repeatedly pushing the two sections of sheet wax together at the join will usually close the gap quite effectively.
Having closed the gap between the pieces as much as possible, filleting wax can be gently pushed into any remaining gap and the excess carefully scraped off before finally buffing the join smooth with a cloth to leave an almost seamless finish.
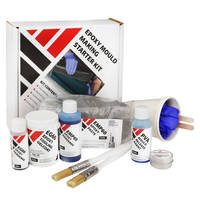
3. Epoxy Mould Making Starter Kit
In this tutorial, we make the mould itself using an epoxy tooling gelcoat and an epoxy laminating paste (or putty). By using an epoxy-based tooling system to make this fibreglass mould we ensure that the mould is fully compatible for use making epoxy-based components, such as the carbon fibre frame protector will use the mould to make in a subsequent tutorial.
Another advantage to using epoxy-based resins when working with sheet wax is that epoxy gelcoats and resins contain no solvents and so they don't attack, soften or stick to the sheet wax in the way that styrene-based resin systems (such as polyester and vinylester) can. This makes it easier to remove sheet wax from epoxy-based moulds.
For simplicity, in this tutorial we use our Epoxy Mould Making Starter Kit which includes the EG60 Epoxy Tooling Gelcoat and EMP60 Epoxy Laminating Paste. The kit also includes the mould release wax, along with ancillary items such as gloves and mixing cups.
The materials included in the Epoxy Mould Making Starter Kit are almost completely odourless.
4. Applying EG60 tooling gelcoat
The EG60 Epoxy Tooling Gelcoat is mixed carefully and fully according to the instructions. In this tutorial we will be 'double-gelling' whereby the gelcoat is applied in two, even applications.
The first application of gelcoat is thoroughly mixed and applied directly onto the sheet wax at a thickness of approximately 500g per square metre, or around 0.5mm.
The first application is then allowed to cure to the 'B-stage', where it is firm but still tacky. The exact timing of this will vary according to temperature but at 20°C this will be around 3hrs.
Once the first application has cured to the B-stage, a second application of gelcoat is applied. The second application is mixed and applied just the same as the first, aiming to keep the gelcoat as smooth and even as possible. This second layer of gelcoat is now also allowed to cure to the B-stage.
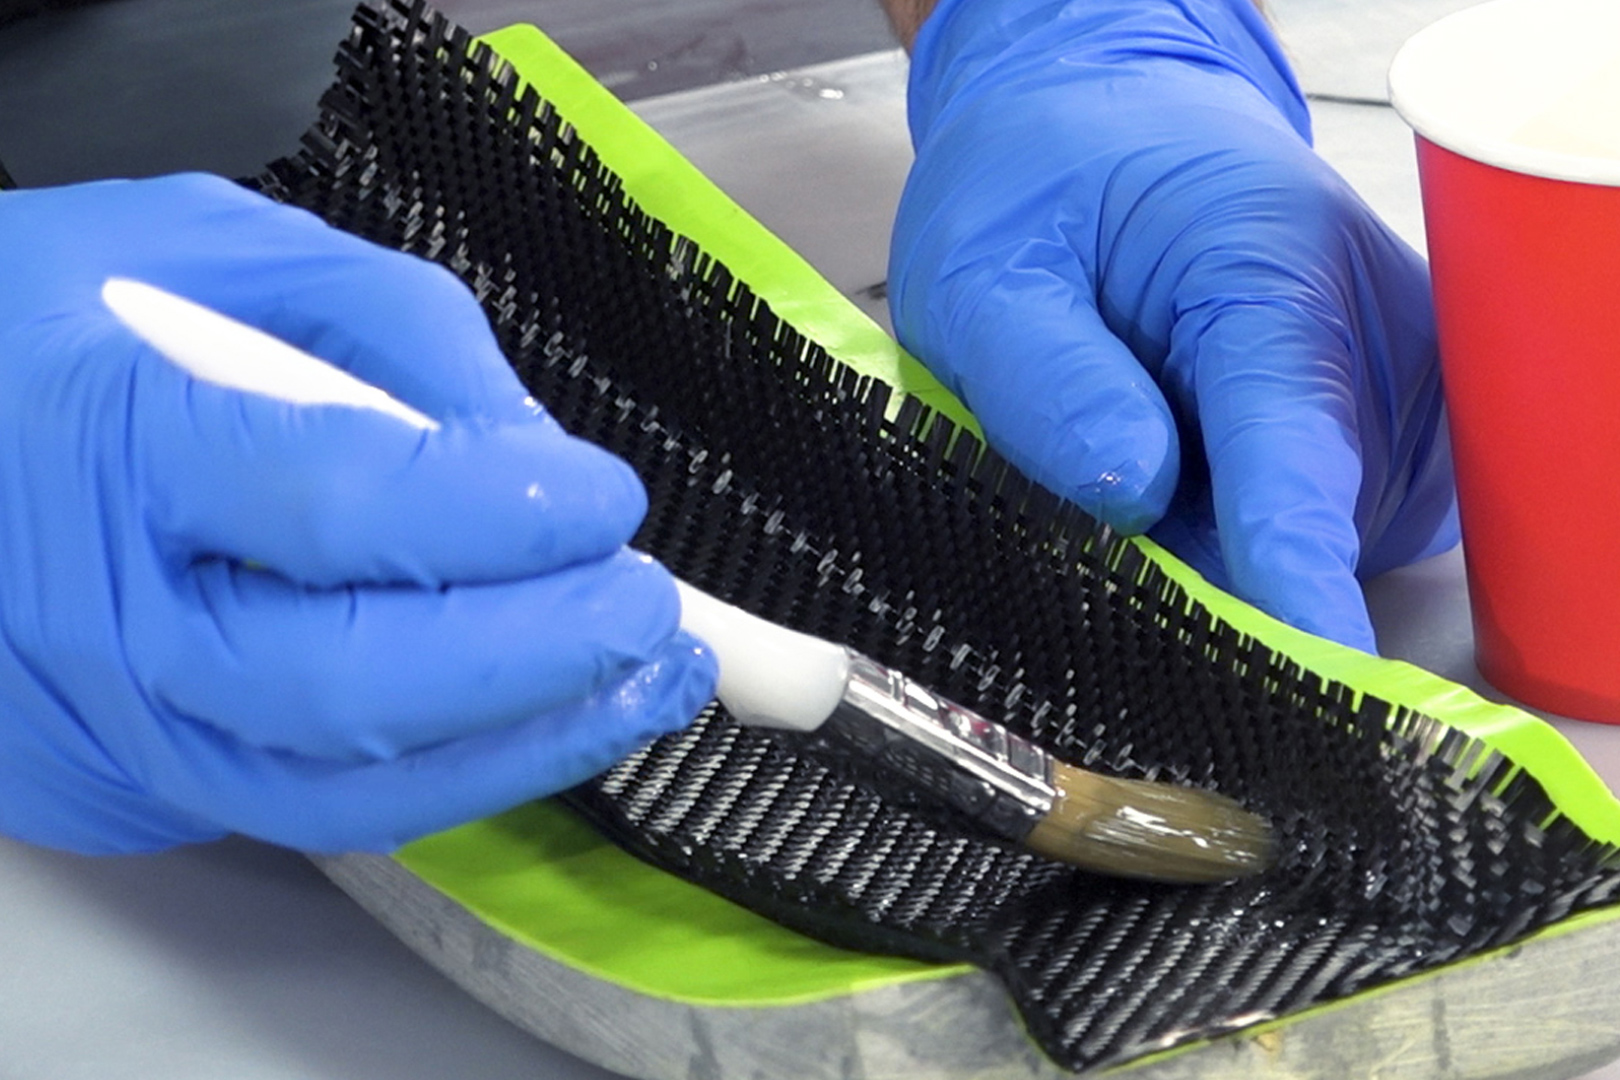
5. Applying EMP60 laminating paste
As soon as the second application of gelcoat has cured to the B-stage, the main reinforcement for the mould can be applied. It is very important to not allow the gelcoat to cure past the B-stage otherwise it will become to hard and dry and the laminating paste will not be able bond properly to it.
EMP60 is an epoxy-resin based laminating paste. The paste contains resin, filler and chopped glass fibre strands for reinforcement and so can be used on its own as the main reinforcement for the mould. The advantage to a laminating paste is that the fine, paste-like material is very easy to work into corners and details, reducing the risk of air-voids and providing a fast ad reliable means of reinforcing an epoxy-based mould.
EG60 is thoroughly mixed according to the instructions and then applied directly onto the B-staged EG60 gelcoat at a thickness of around 10mm before being left to fully cure for around 24hrs.
6. Demould and remove sheet wax
Once the mould is fully cured, it is removed from the pattern. Typically, the sheet wax will come away with the new mould. The sheet wax can then be removed from the new mould by hand, using plastic tools to avoid scratching or damaging the new mould.
Any residual traces of sheet wax should be cleaned off the new mould using mould cleaner.
7. Trimming and finishing the mould
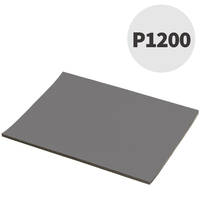
The rough edges of the mould are removed and tidied-up using a slitting disc in an angle grinder. The finish left on the surface of the mould by the sheet wax will be quite smooth but quite satin. To give the mould a smooth, glossy finish P1200 and then P1500 wet & dry abrasive papers are used before polishing the mould using an NW1 polishing compound.
DISCUSSION (8)
Please share any questions or comments you may have about this video tutorial.
The sheet wax may well damage the surface as you often need to scrape the wax off the surface once the moulding process is complete. If the panel is especially fragile, you could try vinyl wrapping it or covering it in a PPF type product but there is always the risk of panel paint damage with a moulding process.
LEAVE A COMMENT OR QUESTION
PRODUCTS USED IN THIS PROJECT
Although not necessarily an exhaustive list, the following tools and materials, supplied by Easy Composites, were used in this project.
The quantity shown below is the approximate amount used in the project rounded up to the nearest available kit size or quantity.
MATERIALS & CONSUMABLES
DISCUSSION (8)
Please share any questions or comments you may have about this video tutorial.
The sheet wax may well damage the surface as you often need to scrape the wax off the surface once the moulding process is complete. If the panel is especially fragile, you could try vinyl wrapping it or covering it in a PPF type product but there is always the risk of panel paint damage with a moulding process.
LEAVE A COMMENT OR QUESTION
100% SECURE
PAYMENT METHODS


Easy Composites Ltd, registered in England 7486797. All content copyright (C) Easy Composites Ltd, 2025. All rights reserved.