Need any help or advice?![]() +44 (0)1782 454499
+44 (0)1782 454499
VIDEOS IN THIS SERIES
This video is part 3 of a 3 part series:
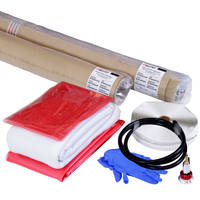
PRODUCTS USED IN THIS PROJECT
Although not necessarily an exhaustive list, the following tools and materials, supplied by Easy Composites, were used in this project.
The quantity shown below is the approximate amount used in the project rounded up to the nearest available kit size or quantity.
TOOLS & EQUIPMENT
MATERIALS & CONSUMABLES

REINFORCEMENTS
VIDEO TUTORIAL
Introduction to Out-of-Autoclave Prepreg Carbon Fibre
In this video tutorial we aim to provide a complete introduction to out-of-autoclave prepregs. We explain what they are, how they are stored, shipped and handled and what moulds, equipment and materials are required to work with them.
The tutorial includes detailed practical information on templating-out and then cutting the prepreg, laminating the surface ply, debulking the surface ply, laminating the backing ply and then vacuum bagging and curing the component.
In this video we use the prepreg carbon fibre mould made in the preceding video in this tutorial series.
INTRODUCTION
What are prepregs / what is prepreg carbon fibre?
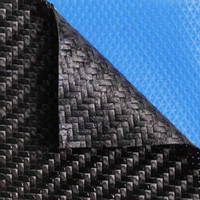
'Prepregs' are a type of composite reinforcement such as carbon fibre or glass fibre that has already had the activated resin matrix impregnated into the reinforcement.
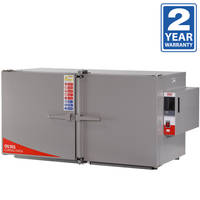
What's the difference between an oven and an autoclave?
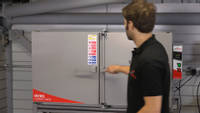
There are two main methods of curing prepreg composite materials; in a curing oven and in an autoclave. The difference between these two pieces of equipment is pressure; an autoclave is a pressure chamber (like the air receiver on an air compressor) whereas a curing oven only has normal atmospheric pressure inside.
Because an autoclave is a large pressure vessel, and particularly because it is a pressure vessel that needs to have a large door on it for access, they are - necessarily - large and expensive pieces of equipment. In industry, it is rare to find an autoclave for less than around £50k (60k euro, $70k) and larger vessels often run to considerably more. They are also very large, heavy pieces of equipment that an be expensive to run and requiring regular inspection and servicing to ensure their safety.
Using either piece of equipment, curing of prepreg laminates requires precisely controlled temperature (typically 100-150°C), good air circulation and vacuum lines inside the oven or autoclave so that vacuum can be maintained to the part for the duration of the cure.
How to store and handle prepregs
As the resin matrix in a prepreg has already been activated (i.e. mixed with its hardener) during the prepregging process, the resin is - theoretically - curing right from the point of manufacture. Fortunately, the very low reactivity of the resins typically used in prepregs mean they cure incredibly slowly at ambient temperature, allowing the prepreg to be stored and handled at room temperature for a limited amount of time, known as the prepreg's outlife. In the case of the XPREG® XC110 prepreg used in this tutorial, this out-life is at least 6 weeks.
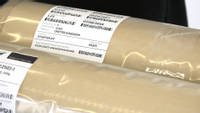
By storing the prepreg in a freezer at -20°, the life of the uncured prepreg can be extended to many months or even years. The length of time that the prepreg can be safely stored at -20° is known as its freezer life. In the case of the XC110 system, the freezer-life is at least 12 months.
TUTORIAL BREAKDOWN
1. Creating cutting templates
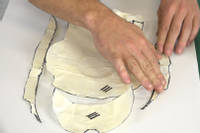
One major advantage to working with prepregs is that the material can be cut extremely accurately into different sections needed to laminate the part. When a part is laminated for the first time, it is typical to begin by making temporary paper or masking tape 'templates' of the different shaped pieces. These temporary templates can be transferred to the prepreg, marked out and cut.
Once the pieces of reinforcement are test fitted into the mould, the temporary templates are often adjusted and refined until they produce perfect fitting pieces of reinforcement. At this point, the temporary templates can be transferred to more durable materials such as plastic sheet to be retained and re-used again and again.
2. Cutting the prepreg
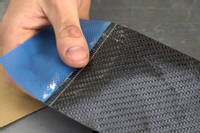
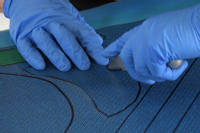
Once you've created your cutting templates the outline is typically transferred to the prepreg by tracing round the outside of the cutting template using a marker pen.
In its uncured state, prepreg reinforcement is extremely easy to handle and cutting is usually best done using a sharp knife.
Prepregs can be cut using scissors but the tacky resin on the material tends to build up on the scissors, clogging them and requiring cleaning.
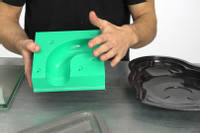
3. Suitable moulds for prepreg use
Before you start laminating your first prepreg component, it's important to consider what type of moulds are suitable for use with prepreg processing. In this tutorial we're using a mould that is itself made from prepreg carbon fibre using our XT135 tooling prepreg which is highly suitable for making prepreg components.
Compatibility of other possible mould materials is as follows:
- Prepreg carbon fibre - Fully compatible
- High temp epoxy - Fully compatible
- Toughened glass - Fully compatible (for flat sheets/panels)
- Aluminium - Fully compatible
- Stainless steel - Fully compatible
- Vinylester (such as Uni-Mould) - Semi-compatible, can affect surface finish and need to consider maximum cure temperature
- Polyurethane (PU) tooling board - Not compatible; at elevated temperature polyurethane inhibits the cure of epoxies.
4. Laminate the surface ply
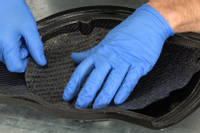
Before you start to place the pre-preg into the mould, you must first apply your release agent in accordance with its instructions. In this case EasyLease was used.
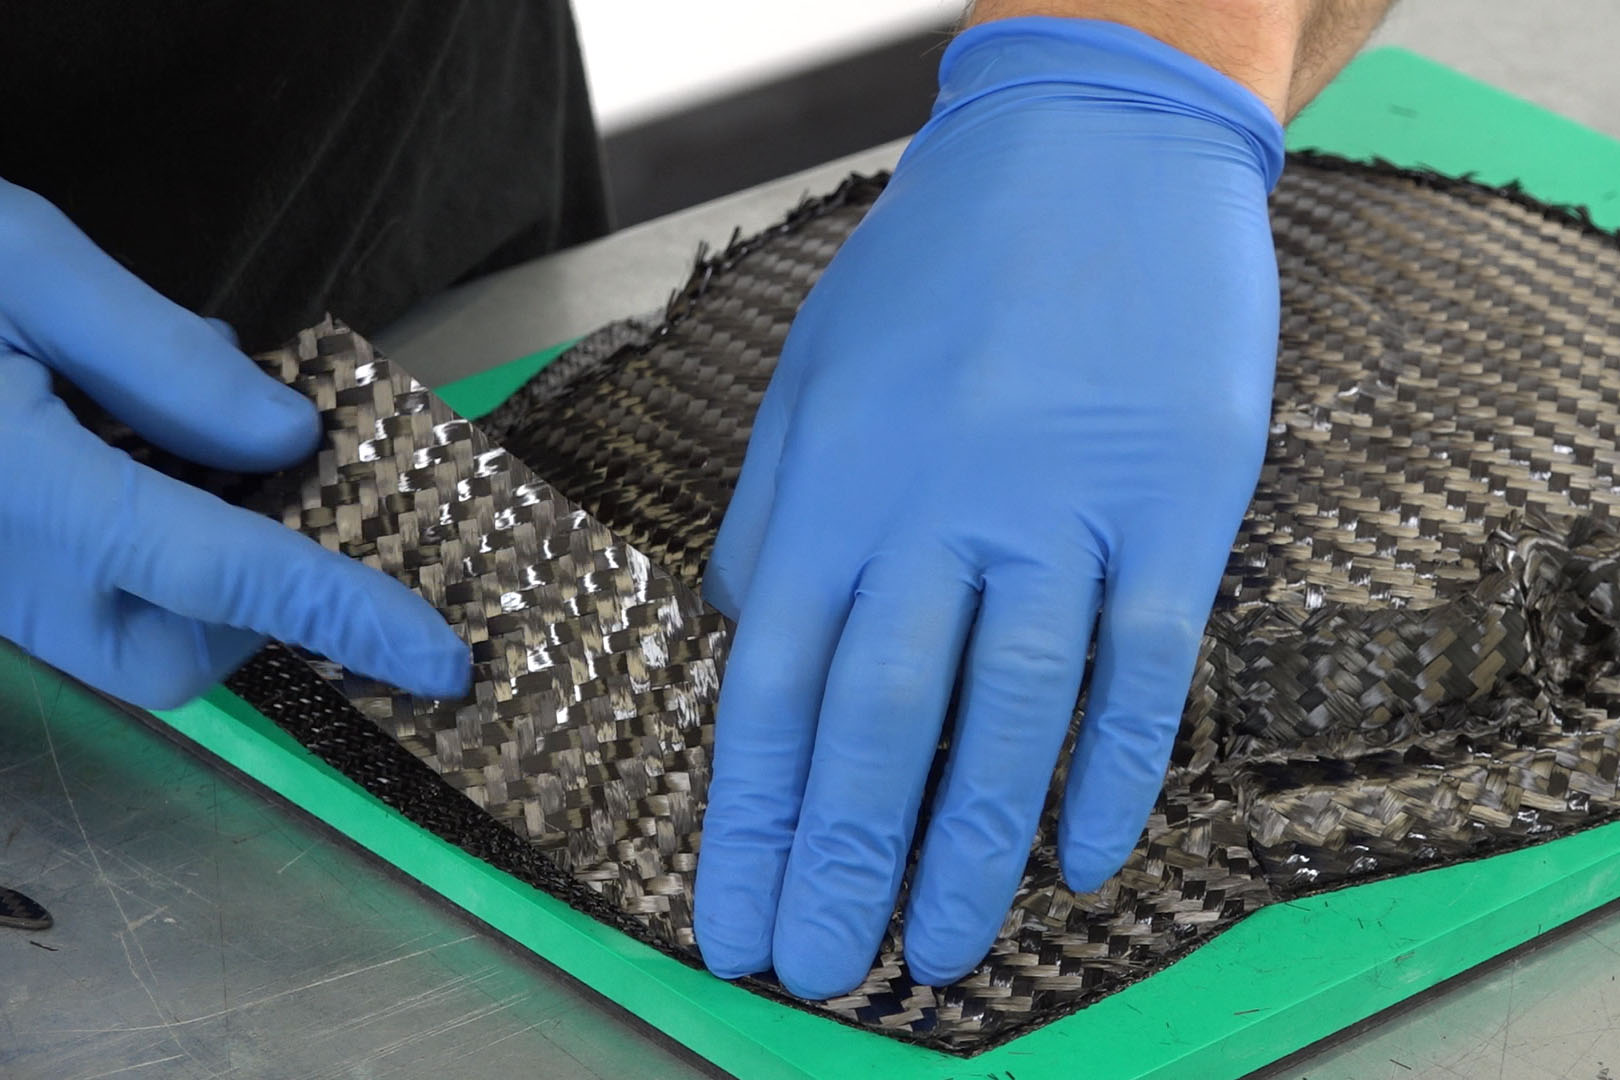
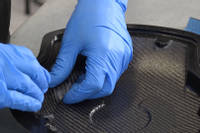
The actual handling of the pre-preg is relatively simple, however, great care must be taken to ensure the material is properly down in the mould. Generally work from the centre lowest point and work out systematically so that you do not end up bridging over any corners or detail.
Laminating tools called dibbers can be used here to help press the pre-preg down into the mould. These tools can be made by hand, bought ready made or using edges of other tools, eg the handle on shears. Again it is key to ensure there are no bridges or voids. Laying up other pieces around tight corners or detail may lead to creasing of the material or it lifting. In these areas, composite snips can be used to make small cuts to allow the material to lap and conform to the mould.
For the curvy edge of the mould, the pre-preg is cut at 45 degrees to the weave pattern. This is to help with the lay up. The material will curve and drape much better meaning that cut lines are only needed at the sharpest of corners. It is worth noting that 9 out of 10 defects on pre-preg parts will be caused by bridging of the laminate and/or bagging stack so special care at these stages is essential for a good quality part.

5. Surface ply debulk
At this stage the mould is going to be debulked. Debulking will help with improving the fabric consolidation helping to avoid pinholes and voids on the part surface. It is especially important for larger parts or parts with multiple plies if material.
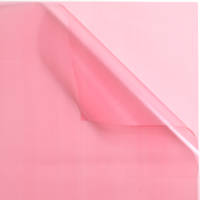
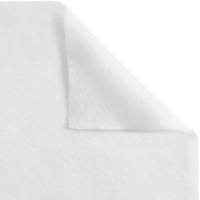
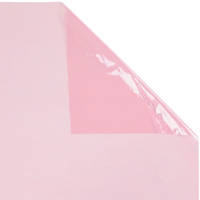
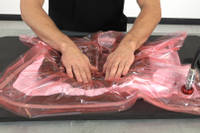
To do the debulk, first apply a layer of perforated release film, then a layer of breather cloth. The entire mould is then placed into a vacuum bag and a vacuum pulled on the bag. As normal with bagging, when pulling down the vacuum, take care to ensure the bagging film gets tightly into all the corners and details so there is no bridging. The bag is then left under full vacuum for at least 10 minutes to complete the debulk process. Once debagged, you can see the material is much better consolidated against the mould surface.
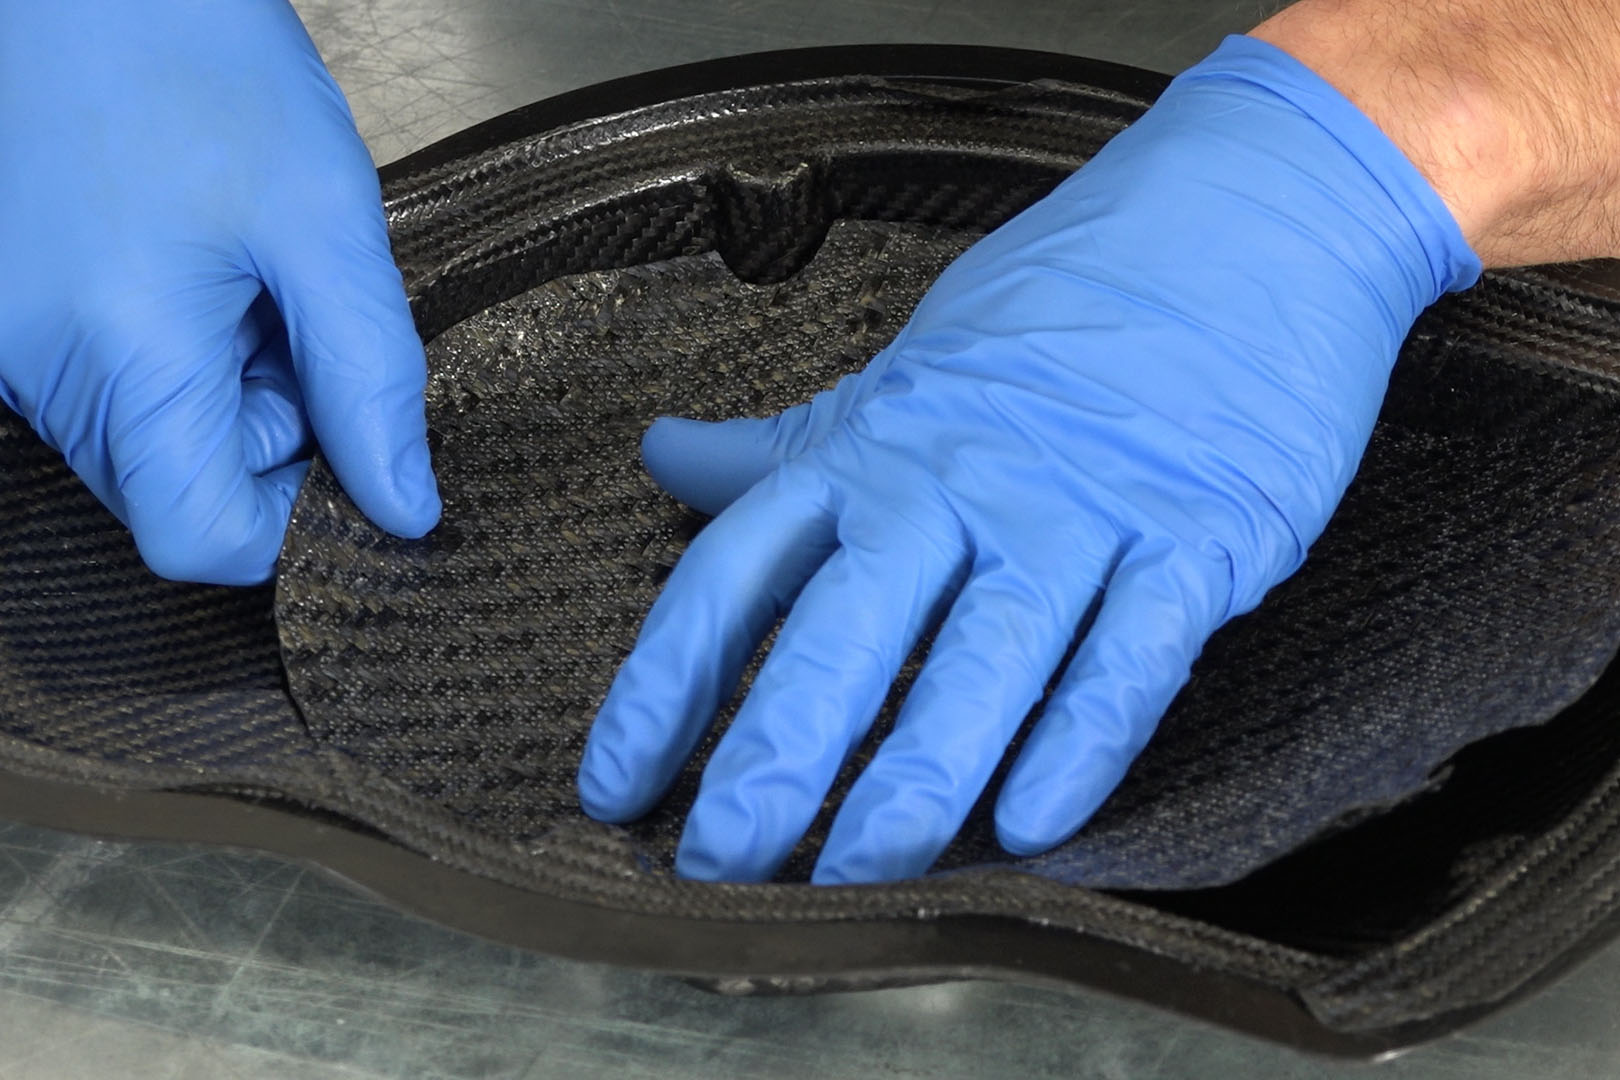
6. Laminate the backing ply
The backing ply is a much thicker 416g material and as such is a bit harder to laminate and get to conform to the mould. However, apart from this difference in thickness, the process is identical to the surface ply - again taking extra care to ensure there is no bridging over the mould detail and corners.
For this part, only one backing ply is needed. For bigger and thicker parts you may use extra plies as necessary.
7. Vacuum bagging
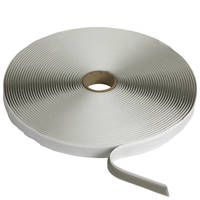
Now that the pre-preg is fully laid up, the part can be vacuum bagged ready for curing. This starts by applying a non-perforated release film to the pre-preg. It is essential that this layer, just like the laminate itself, is carefully pressed onto the mould surface without any bridges. Once on the mould surface, rub with a cloth to press the release film firmly onto the material. You can use flash release tape to help hold the film in place if necessary.
For this size of part, it is only required to have breather on the underside and edge of the part to provide an air path. Not having breather on the material surface actually helps on complex shapes as the breather does not get in the way of the vacuum bag getting into the tight corners and detail.
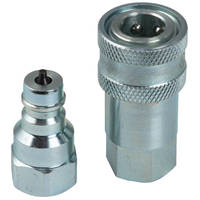
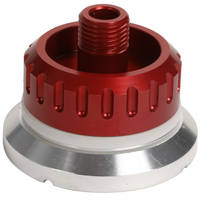
The bag being created is an envelope bag with the mould placed directly into the bag. This is common with production of smaller pre-preg parts as it is perfectly possible to place several small parts into one big vacuum bag and cure them all together. The through bag connector is placed on one corner on the breather to ensure there is a continuous air path.
Start by pulling only a partial vacuum, stopping the pull as necessary to position and move the bagging film. This stage it is critical to get the film into all the corners and recesses of the mould. Use creases of film to achieve this, as the vacuum increases the spare film in the crease will be pulled into the corner thus avoiding any bridging of the film. Once you are happy the bag is positioned correctly, a full vacuum can be pulled. Once a full vacuum is pulled, carry out a leak test for at least 10 minutes.
8. Oven curing prepreg
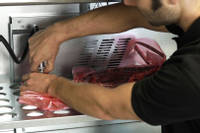
With the bag pulled down and successfully leak tested, it can now be put in the oven to cure. Place the bag carefully in the oven ensuring the bag cannot snag or catch on any edges causing a puncture. Connect the vacuum line inside the oven and connect the pump to the assembly outside. You can now run the pump allowing the bag to be maintained under full vacuum throughout the cure.
Close the oven doors and switch on the oven and program the cycle you wish to use. This can be done on the oven itself or on a PC/Laptop using the optional programming lead. We recommend following the cycles described in the Pre-preg TDS and processing guide. You can now run the cycle you have programmed or selected.
9. Demould the finished part
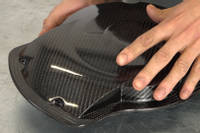
Once the oven curing cycle has completed, allow the part to fully cool to room temperature before attempting to demould. Failure to do so can cause surface defects and print through ruining the parts cosmetic surface. Once cool, remove from the oven and remove the bagging film a breather. The release film should easily pull off. At that stage, using demoulding wedges or other pointed items, taking care to avoid scratching the mould, carefully prise the edges of the part away from the mould, You may need to be systematic working around the mould to lift the part evenly from the mould until it comes free.
The demoulded part then just needs trimming and finishing with a suitable rotary cutting tool and carbide abrasive tools and papers to give a clean and nice edge to the part. The finished carbon fibre part can now be put into service.
DISCUSSION (3)
Please share any questions or comments you may have about this video tutorial.
LEAVE A COMMENT OR QUESTION
PRODUCTS USED IN THIS PROJECT
Although not necessarily an exhaustive list, the following tools and materials, supplied by Easy Composites, were used in this project.
The quantity shown below is the approximate amount used in the project rounded up to the nearest available kit size or quantity.
TOOLS & EQUIPMENT
MATERIALS & CONSUMABLES
REINFORCEMENTS
DISCUSSION (3)
Please share any questions or comments you may have about this video tutorial.
LEAVE A COMMENT OR QUESTION
100% SECURE
PAYMENT METHODS


Easy Composites Ltd, registered in England 7486797. All content copyright (C) Easy Composites Ltd, 2025. All rights reserved.